

Hello and welcome to the Around the World on Wednesday Blog Hop for November 22!
Each month a group of creative friends create a project for a theme. This month we have Never Grow Up! as our theme. Below is an image of all of the crew and where they are from around the globe. Such a wonderful and talented group of people.

I have a very special friend celebrating her birthday soon and thought I would create a birthday card with her in mind for this challenge. I also wanted to use the new Fitting Florets Collection as she will love the images and Designer Series Paper.
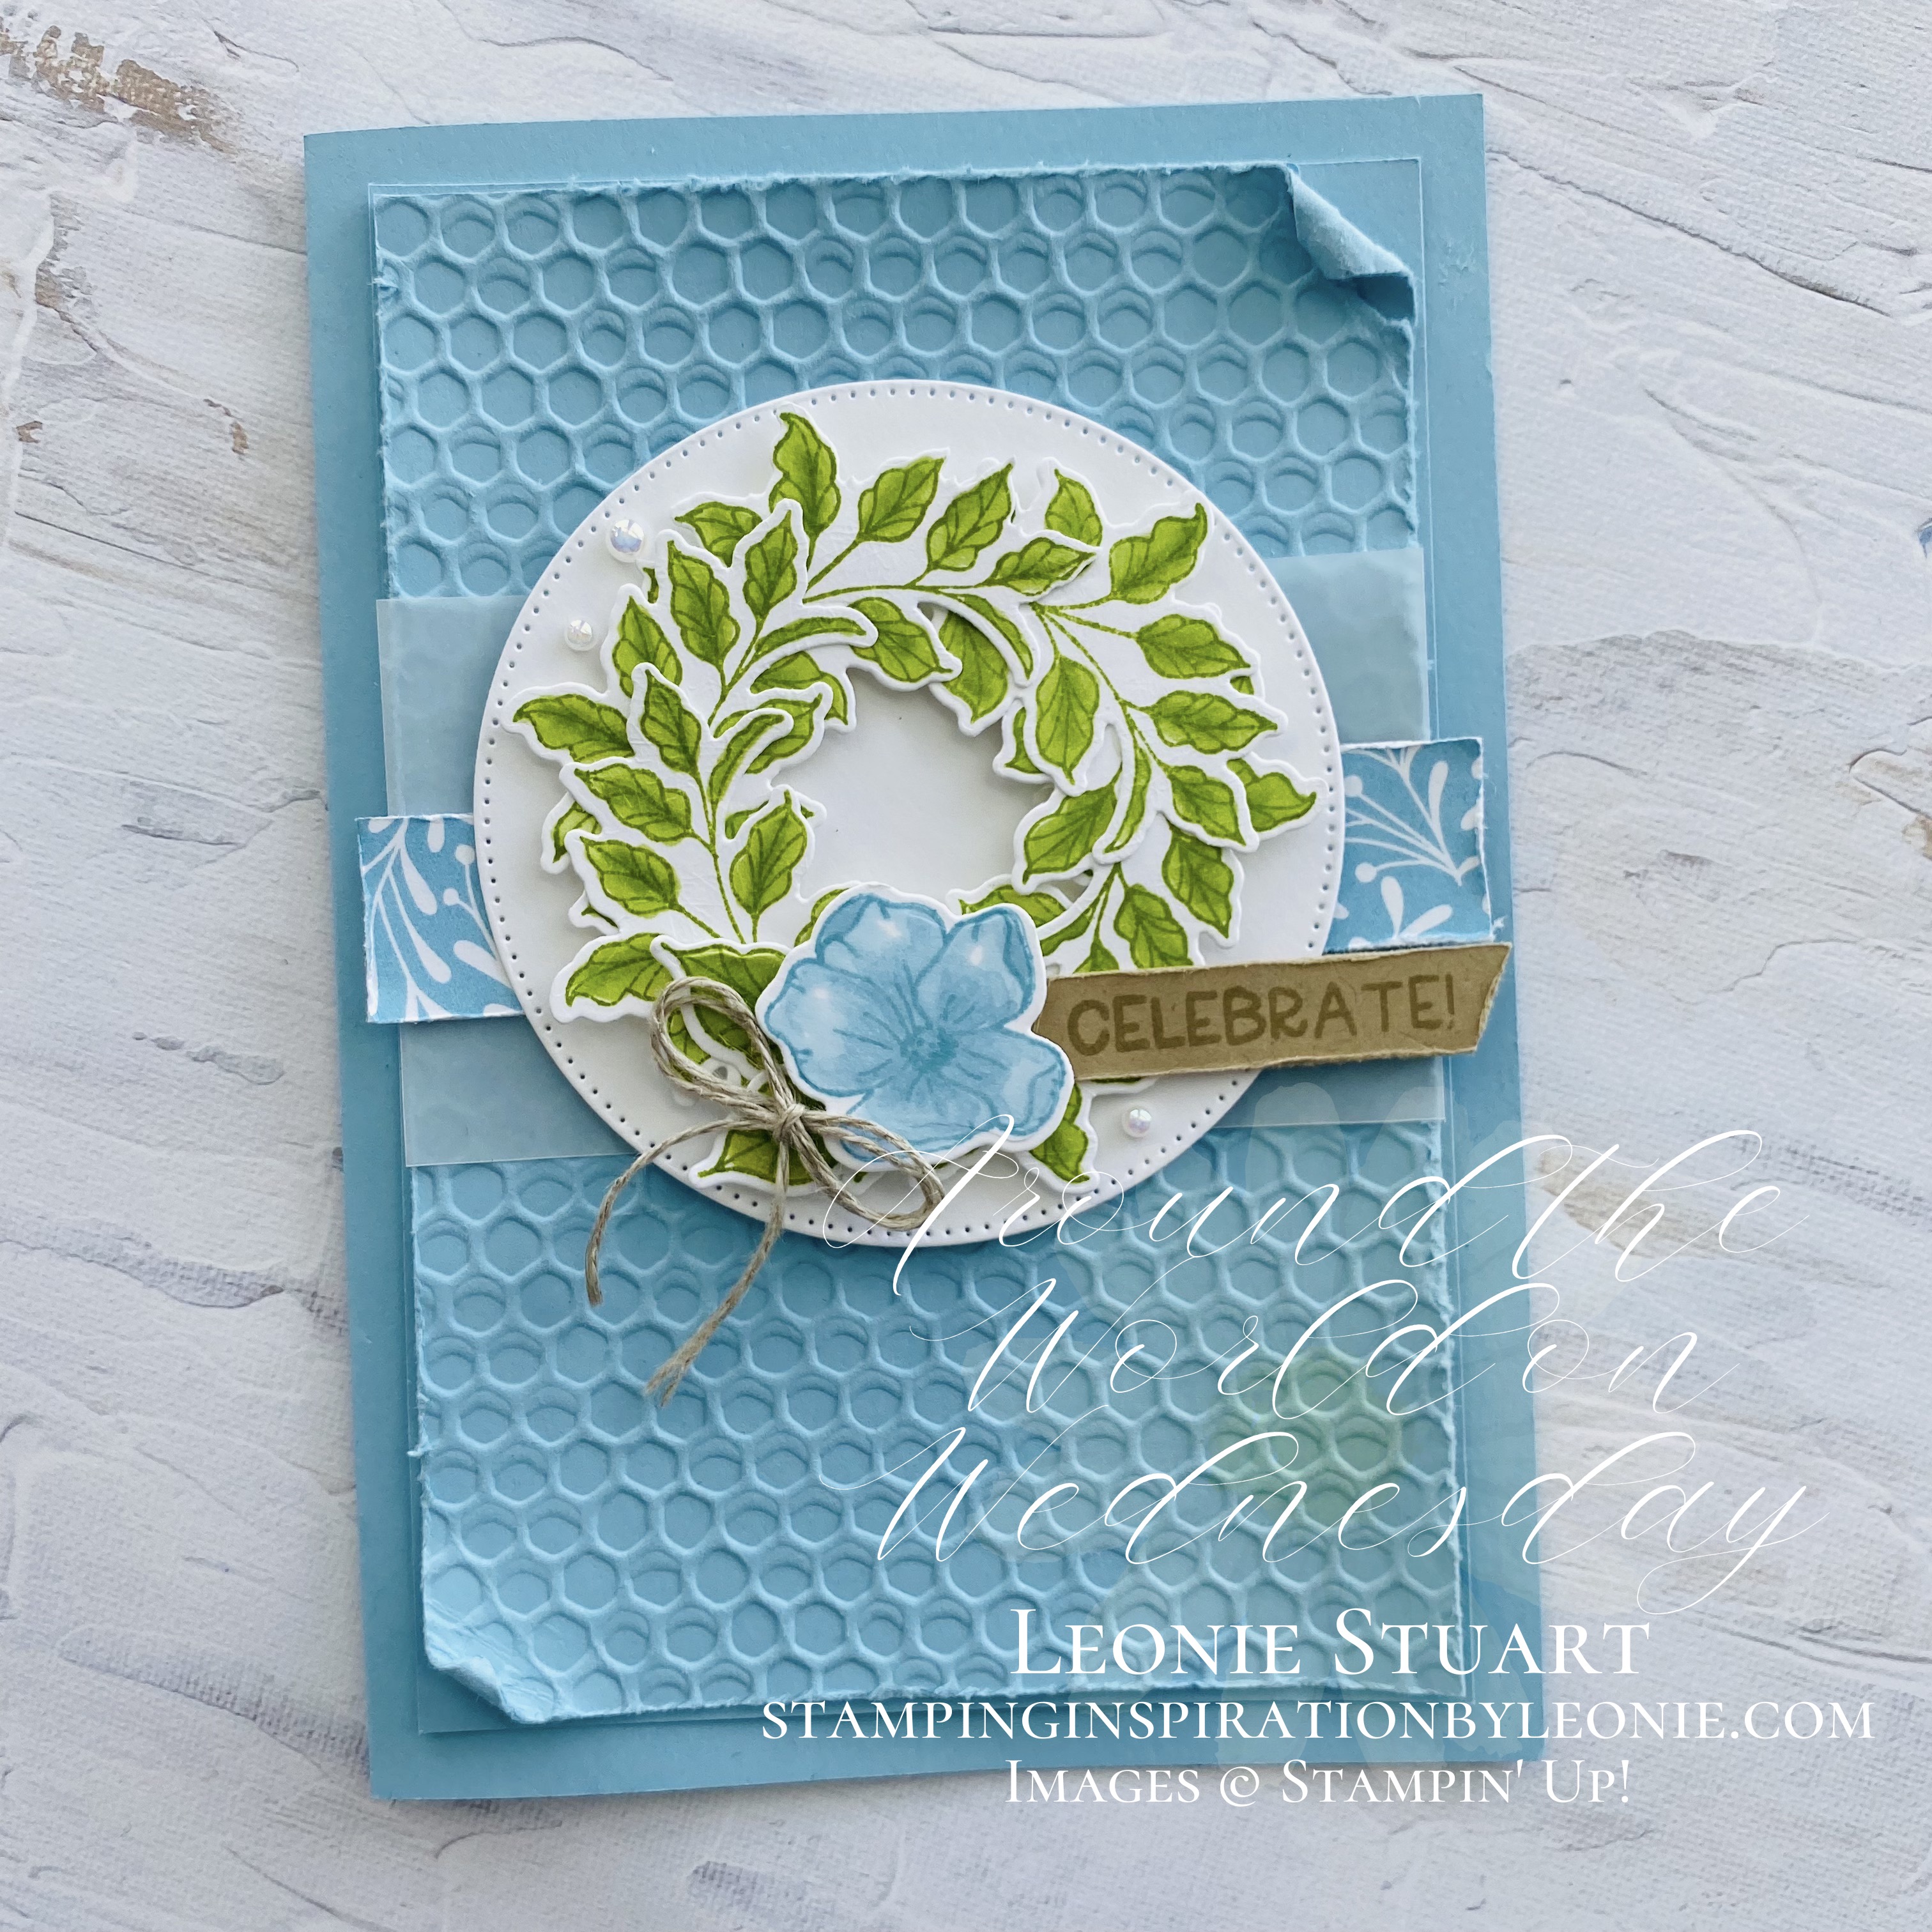
- Start with a Balmy Blue card base measuring 21cm x 14.9cm scored and folded in half
- Cut a piece of Balmy Blue card stock to measure 9.3cm x 13.8cm
- Cut a piece of Balmy Blue card stock to measure 9cm x 13.5cm and run this through your Cut & Emboss Machine using the Hive 3D Embossing Folder and adhere to the matt layer and then the card base using glue
- Cut a 9cm x 5cm piece of White Vellum card stock and adhere to the top of the embossed layer using glue in the centre only so the glue won't be seen
- Cut a piece of 1.8cm x 9.8cm piece of the blue and white Fitting Florets Designer Series Paper. Rough the edges with your scissors and adhere with glue to the centre of the vellum allowing it to overhang at each end
- Die cut a 7.5cm stitched circle from the Stylish Shapes Dies from Basic White card stock. Adhere this to the centre of the Vellum and DSP layers using DImensionals
- On Basic White card stock stamp the 8 leaves in Pear Pizzaz ink and then colour them with Pear Pizzaz ink or the Pear Pizzaz Stampin' Blends before die cutting them with coordinating die
- Stamp the flower in Balmy Blue ink on Basic White card stock and colour with Balmy Blue ink or Balmy Blue Stampin' Blends before die cutting the flower with the coordinating die
- Arrange the leaves in a wreath on to of the stitched circle and adhere using Dimensionals
- Adhere the flower on the bottom of the wreath using Dimensionals
- Tie a 15cm length of Linen Thread in a double bow and adhere to the left hand side of the flower
- Stamp the sentiment in crumb cake ink on crumb cake card stock and trim with scissors bannering the end. Use scissors to rough the edges of the sentiment layer before adhering it with glue and Dimensionals to the right hand side of the flower
- Secure three of the Iridescent Pearl Basic Jewels around the wreath

Up next on our Festive Paperscapes Blog Hop is the wonderfully talented Rochelle Laird-Smith.
Click on the next button below to head to her blog post for more Festive Paperscapes.
Thank you for visiting my blog today. I hope to have inspired you or helped you to create this card today. I love sharing my designs and how I make them. I am happy for you you to recreate my card and use the design if you are a Demonstrator, as long as you are giving me the credit for my creative process and design.
Have a great day!

") |  |  | |
 |  |  |  |
 |  |  |  |
 |  |  |  |
 |  |  |
 Designer Series Paper")
Great card Leonie !
ReplyDeletePretty card! Love the look of the hive embossing folder, as well as the colors!
ReplyDeleteThe Balmy Blue looks good, especially with the Hive folder. I like the softly distressed feel you've created.
ReplyDelete