Monday 27 June 2022

Stampers Showcase Blog Hop - Fancy Folds


Hello and welcome to the Stampers Showcase Blog Hop for June.

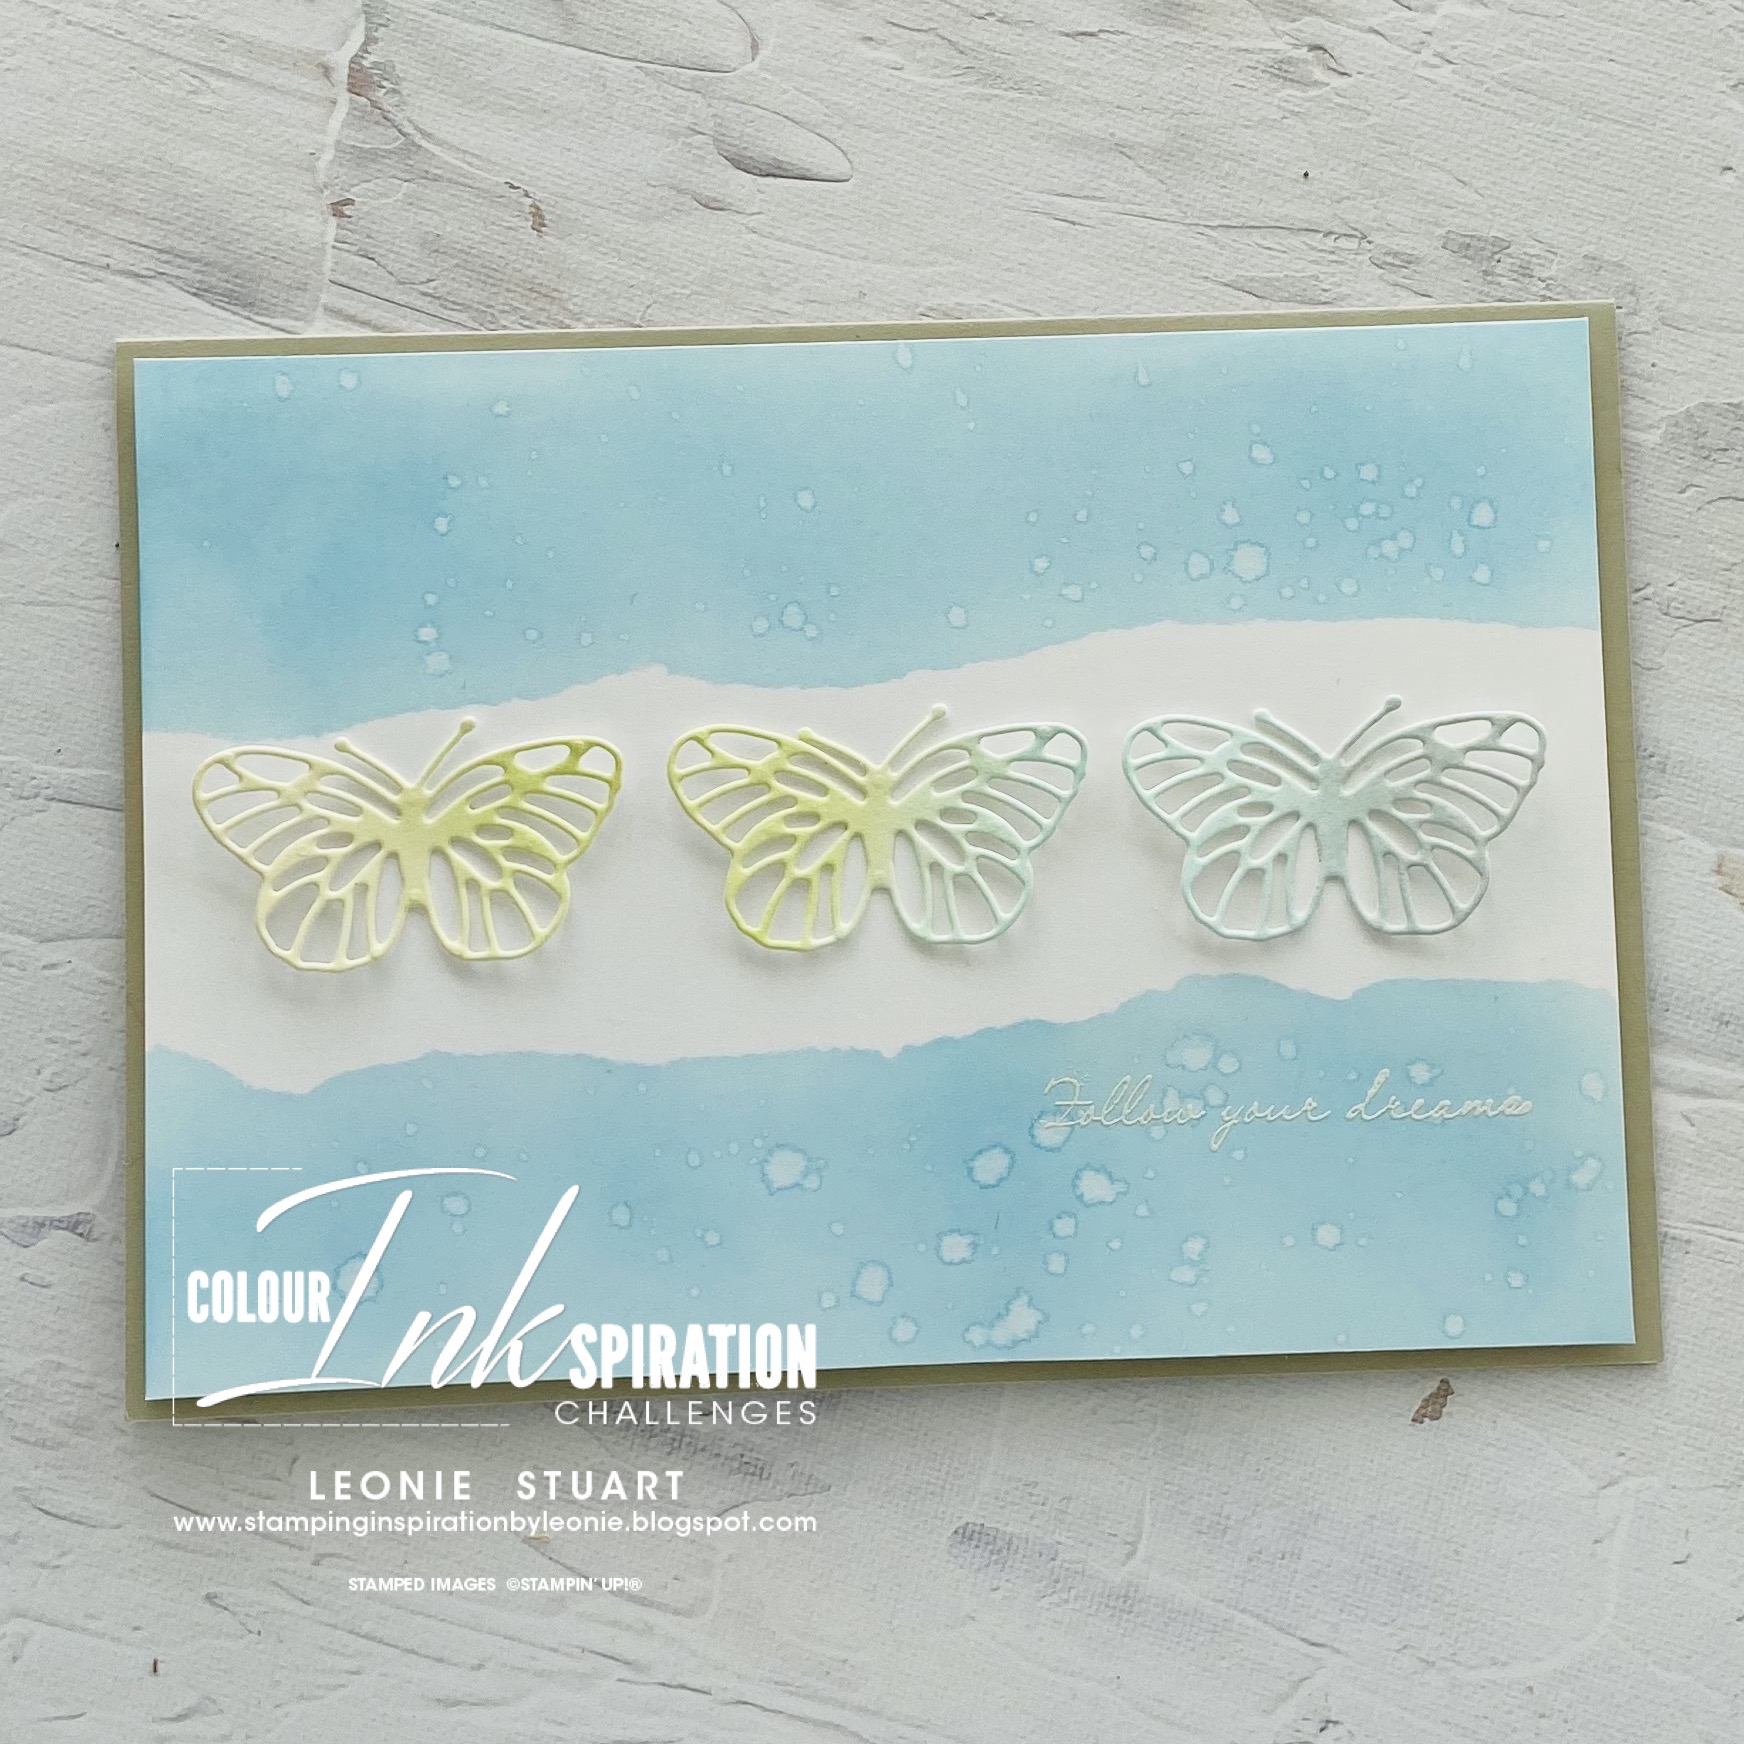
This month we are excited to be sharing Fancy Fold Projects with you. I cannot wait to see what the Crew have created this month.

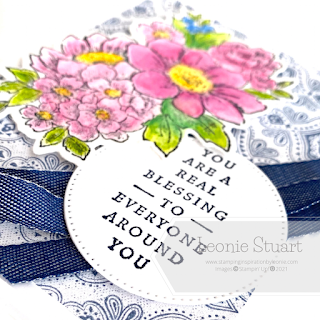
I love the Blessings of Home Bundle and wanted to use the beautiful coordinating Heart and Home Designer Series Paper before it retires at the end of this month.....just a few days before the January to June Mini Catalogue ends. I hope you have all your favourites purchased so you don't miss out!

I have chosen to use a bigger card front as I find that Fancy Fold cards of this nature look much better with a wider card.


  1. Start with a Basic White card base measuring 4 1/4 " x 11" scored at 5 1/2' and 2 3/4" and THEN fold in half
  2. Cut another piece of Basic White to measure 5 1/4" x4"
  3. Cut the Designer Series Paper to measure 5" x 3 3/4" and glue to the 5 1/4" x4" piece of Basic White card stock. Then glue this to the bottom half of the 2 3/4 fold and the bottom half of the DSP layer
  4. Cut a piece of Basic White card stock to measure 2" x 4"
  5. Cut a piece of the DSP to measure 1 3/4"x 3 3/4". Glue the to the piece above
  6. Cut a 4 1/2" piece of the Denim Ribbon and secure around these layers. Use Glue Dots to secure at back
  7. Stamp the Thank You Sentiment in Night of Navy on Basic White card stock and Die cut using the banner shape. Adhere to the top of the ribbon layer using Dimensionals. Then adhere it to the bottom of the card inside using Dimensionals
  8. Stamp the other sentient on Basic White card stock in Night of Navy ink and Die cut using a stitched circle
  9. Stamp the floral image in Stazon™Ink on a piece of the Basic White card stock. Colour with Melon Mambo, Balmy Blue, Crushed Curry, Garden Green and Granny Apple Green Watercolour Pencils and a Water Painter. Die cut this  and adhere to the card front using Dimensionals
  10. Cut a 25cm length of Denim Ribbon and layer it behind the sentiment circle. Then use Dimensionals to secure it and the sentiment circle to the front of the card

'


Keep hopping on our Fancy Fold blog hop!

You can see all the participants links below. Make sure that you check them all out by clicking on the next blog button below!


Product List

Wednesday 22 June 2022

Colour INKspiration #124


Hello and welcome to the Colour INKspiration #124 Challenge.

Twice a month the crew get together to create to a colour palette inspired by an image chosen by a crew team member. This months image below was chosen by lovely crew member Lou Kitzelman. What a gorgeous image!

The crew would love you to join us for one of the challenges! It's so easy. Firstly, get some INKspiration by checking out all of the creations of the Colour INKspiration Crew in the challenge album on our Facebook page. Then you have 12 days from today to make and upload your creation to the Facebook Colour INKspiration Group. You don't have to have a blog to participate but if you do you can link back to your post. Make sure you use all of the challenge colours. You can also use neutrals such as Whisper White, Very Vanilla, Crumb Cake, Sahara Sand and Basic Black as well as Metallics. 

Not a member of the Colour INKspiration Facebook group yet? Just click here and ask to join Colour INKspiration, add the group to your favourites and share it with your crafty friends so they can join in the fun too. Make sure that you answer the joining questions. We can't wait to see what you create with 
these gorgeous colours.


I love bright colours but wanted to create something softer for this challenge. The Tahitian Tide is such a dreamy colour when used softly. I have used the Through it Together sentiment with the Brilliant Wings Dies. I feel that thi layout could be easily recreated using other small dies and stamp sets.


  1. Start with a Crumb Cake card base measuring 21cm x 14.9 scored and folded in half
  2. Cut a piece of Basic White card stock to measure 10cm x 14.3cm
  3. Cut a piece of the Masking Paper to measure 12cm x 6cm. Tear both sides of the masking paper to create a torn strip and place in the centre of the Basic White piece of card stock. Use Tahitian Tide ink and a blending brush to colour both the top and bottom of the cad stock in landscape position
  4. Drop small water spots on top of the Tahitian Tide areas
  5. Stamp the sentiment in Versamark™ink on the right hand side of Tahitian Tide bottom layer. Sprinkle with White Embossing Powder and set with the Heat Tool
  6. Adhere this layer to the card base using Dimensionals
  7. On a 10cm x 5cm piece of the Fluid 100 paper colour from left to right using Daffodil Delight, Parakeet Party, Tahitian Tide then Night of Navy ink with your Water Painter. Then use the smaller Butterfly Die to cut out three Butterflies making sure you get each of the ink colours in. 
  8. Adhere to the card front using Glue


I hope you have enjoyed reading how this came together. 

I also hope you find time to be creative this week!

Product List

Sunday 12 June 2022

Stamping Inkspirations Blog Hop - Monochrome Colour Challenge - Shades of Blue


Welcome to the Stamping Inkspirations Blog Hop for June. This month we have a lovely Monochrome Colour Challenge in shades of blue. I cannot wait to see all the creations from the design team this month.


I wanted to blend blue inks together for this card and use one of the fun Artistic Mix Decorative Masks to give detail and dimension. The sentiment comes from the Good Feeling stamp set found on page 18 of the Annual Catalogue. The sentiments are fun and the fonts are gorgeous!


  1. Start with a Night of Navy card base measuring 21cm x 14.9cm scored then folded in half
  2. Cut another piece of Night of Navy card stock to measure 10cm x 14.3cm
  3. Then cut a piece of Basic White card stock to measure 9.8cm x 14.1cm. Lay the decorative mask over the top and secure with washi tape. Blend the blue inks with Blending Brushes in this order - Balmy Blue, Pacific Point, Starry Sky then Night of Navy. Remove Decorative mask
  4. Glue the layer above to the Night of Navy matt layer and glue to the card front
  5. Stamp the sentiment on Starry Sky ink on a piece of Basic White card stock. Die cut using the second largest Stitched Circle from the Stylish Shapes dies
  6. Die cut a Night of Navy circle from the Layering Circle Dies. Glue the sentiment circle to the Night of Navy circle
  7. Adhere an 8cm length of the Denim Ribbon to the top third of the card using Glue Dots
  8. Secure the sentiment layers over the top using Dimensionals


I love how the decorative mask layer came out and really enjoyed using Blending Brushes to achieve the blending of the blue ink. 

p next on our Blog Hop is the amazing Susan Webster!
Click on the next button below to go to her blog post for more inspiration.


Many thanks for visiting my blog today. You are appreciated!


Product List